
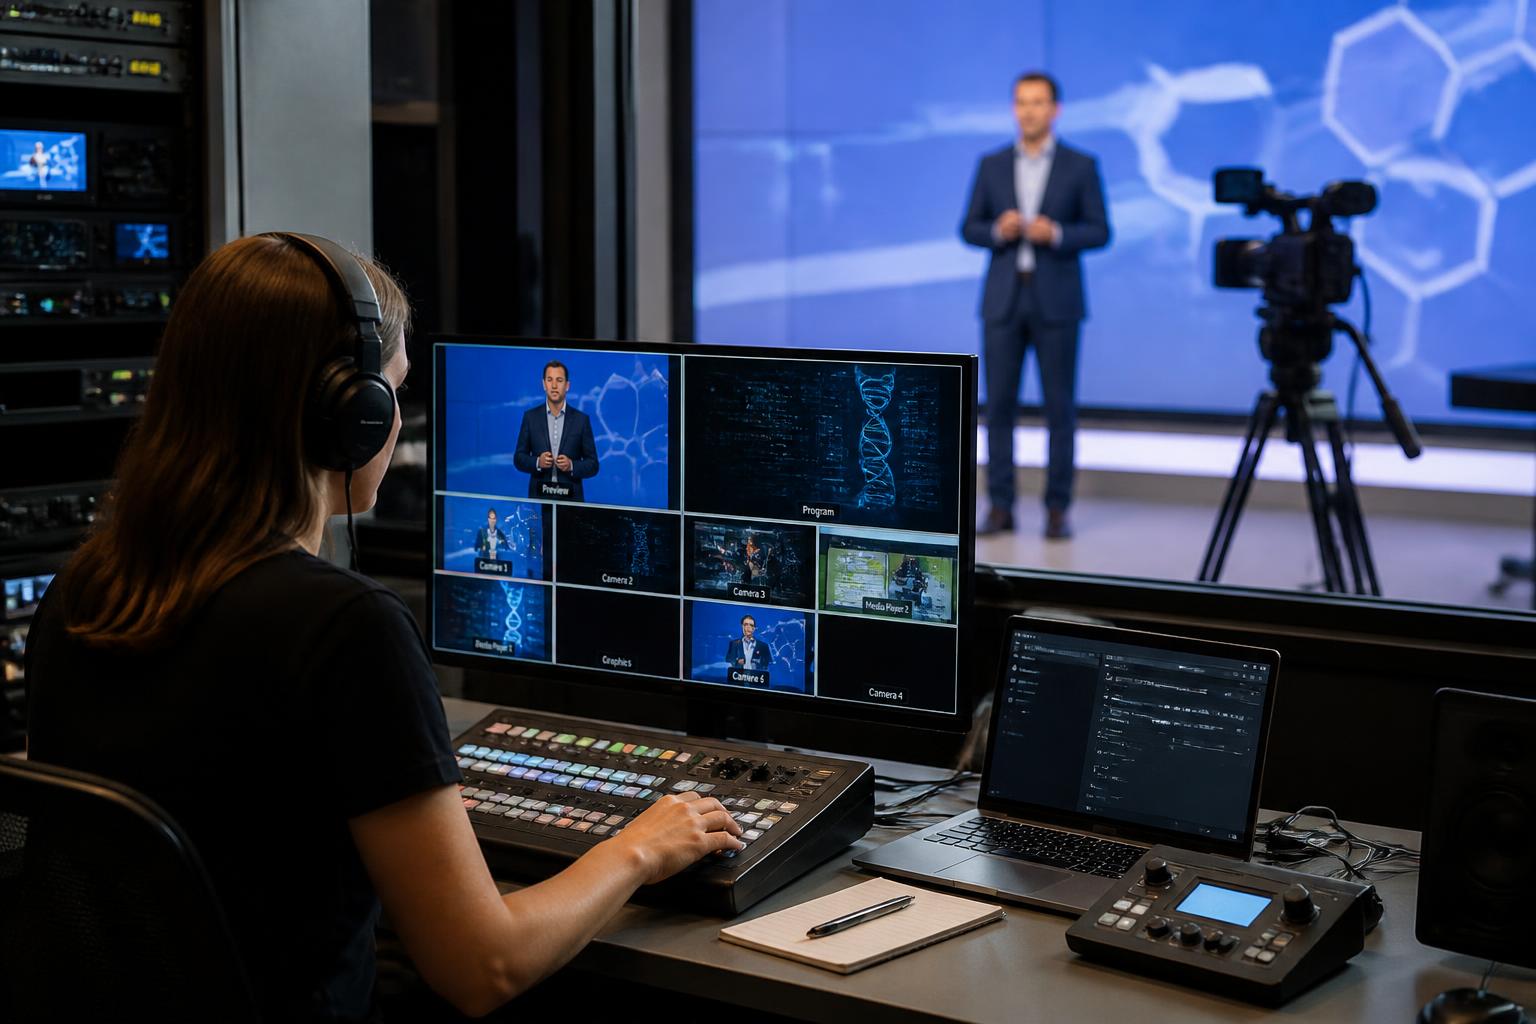
Use pre-recorded content to improve pace and polish
Pre-recorded segments can make a live webinar feel more dynamic, reduce risk, and help you deliver a more consistent experience. They are especially useful for product demos, customer stories, complex explanations, and any content that benefits from tight editing. The key is to integrate recordings in a way that still feels live, responsive, and human, rather than stitched together.
Start with a clear content map
Before you record anything, map your webinar into distinct blocks: welcome, agenda, key sections, interaction points, and close. Decide where pre-recorded content will add the most value and where live delivery is essential. A practical rule is to keep the “high-trust” moments live (welcome, key announcements, Q&A, and anything sensitive), and use pre-recorded content for “high-precision” moments (demos, walkthroughs, case studies, and supporting explainers).
For each recorded insert, define:
Purpose: what it achieves (e.g. demonstrate a workflow, share a testimonial, set up a discussion).
Duration: keep it tight; most inserts land best at 30 seconds to 3 minutes.
Lead-in and lead-out: the exact line the presenter will say to introduce it and the first line they will say when returning live.
Record with the live environment in mind
Pre-recorded content should match the look and feel of the live show. If you are using branded lower-thirds, consistent fonts, or a particular slide style, mirror that in the recording. Viewers notice when the audio suddenly changes or the visuals jump between different layouts.
To keep quality consistent:
Audio first: use a decent microphone, record in a quiet space, and aim for clear, even levels.
Frame for the final layout: if your live webinar uses a picture-in-picture layout, leave safe space for titles or captions.
Keep motion purposeful: avoid frantic cursor movement; zoom in on key areas in post if needed.
Include captions or plan for them: captions improve accessibility and viewer retention, especially for technical content.
Plan transitions so they feel seamless
The difference between “a live webinar with video clips” and “a cohesive broadcast” is the transition. Treat each recording as a segment within a running show.
Simple tactics that work well:
Signpost clearly: “In a moment you’ll see a short two-minute demo that shows…”
Use a consistent sting: a brief branded transition (even 1–2 seconds) can smooth the change from live to recorded and back.
Return with context: summarise the takeaway and connect it to the next live point: “What you just saw is the fastest route to… now let’s look at…”
Keep the webinar interactive, even during recorded segments
Pre-recorded does not have to mean passive. Use the insert to create space for interaction rather than replacing it.
Ideas that maintain momentum:
Run a poll while the video plays: ask a question that relates directly to what viewers are watching, then review results live immediately afterwards.
Prompt chat responses: ask attendees to post a specific answer (e.g. their biggest challenge, their current setup, or which option they prefer).
Collect questions in real time: encourage viewers to submit questions during the recording so the presenter can address them as soon as you return live.
Choose the right playback method for reliability
Many webinar platforms allow video playback, but the most reliable approach is to treat recorded content as a controlled media source, played out at the production level and mixed into the live programme. This avoids common issues such as inconsistent attendee bandwidth, screen-share compression, or audio routing problems.
Whichever method you use, ensure you can:
Play the file at full quality with stable audio.
Cut cleanly back to the live presenter without awkward pauses.
Monitor what the audience is receiving (not just what the host sees).
Build a run of show and rehearse to timings
A run of show is your webinar’s blueprint: timings, speakers, cues, assets, and contingency steps. Include every recorded file with a clear name, duration, and the exact moment it should roll. Rehearse with the same setup you will use on the day, including how you will cue playback and how presenters will handle the transition.
During rehearsal, check:
Audio consistency: do levels match between live mics and recorded segments?
Latency and cue timing: is there a delay between the cue and the audience hearing it?
Slide and video alignment: does the presenter reference what is actually on screen?
Design for flexibility: have a plan B for every insert
Even with strong preparation, live events can change. A guest may run long, a discussion may be more valuable than expected, or you may need to skip ahead. Your pre-recorded segments should be modular so you can drop, shorten, or move them without breaking the narrative.
Practical contingency options:
A shorter cut: create a 30–60 second version of your key video.
A still frame fallback: have a slide summarising the video’s key points in case playback fails.
An alternative live explanation: the presenter should be able to describe the takeaway if needed.
Use recorded content to reduce risk in high-stakes moments
If you are demonstrating software, switching between multiple sources, or relying on a remote connection, pre-recording the demo can remove a major failure point while keeping the session engaging. You can still make it feel live by pausing after the clip for commentary, taking questions, and offering to follow up with additional detail.
Think beyond the live moment: plan your on-demand version
Pre-recorded inserts also help you produce a stronger on-demand asset. If you capture clean programme output (including mixed video, titles, and slides), you can publish a polished recording quickly. Consider adding chapter markers, a resource link, and a short highlights cut for social channels.
Common mistakes to avoid
Overusing long videos: too much pre-recorded content can make the event feel less live. Keep inserts purposeful and concise.
Jarring changes in quality: mismatched audio and lighting undermines credibility.
No clear transitions: viewers should always know where they are in the story and what to do next.
Ignoring accessibility: captions and clear visuals support a wider audience and improve comprehension.
Bring it all together with broadcast-style production
When pre-recorded content is integrated with confident live presenting, clear cues, and smooth switching, the result is a webinar that feels more like a live programme than a standard video call. If you want help planning, producing, and streaming a seamless live webinar with pre-recorded inserts, interactivity, captions, slides, and multi-platform delivery, explore Enbecom Studios’ live remote webcasting and video services at https://enbecom.tv and get in touch to discuss your next event.