
Start with the outcome and work backwards
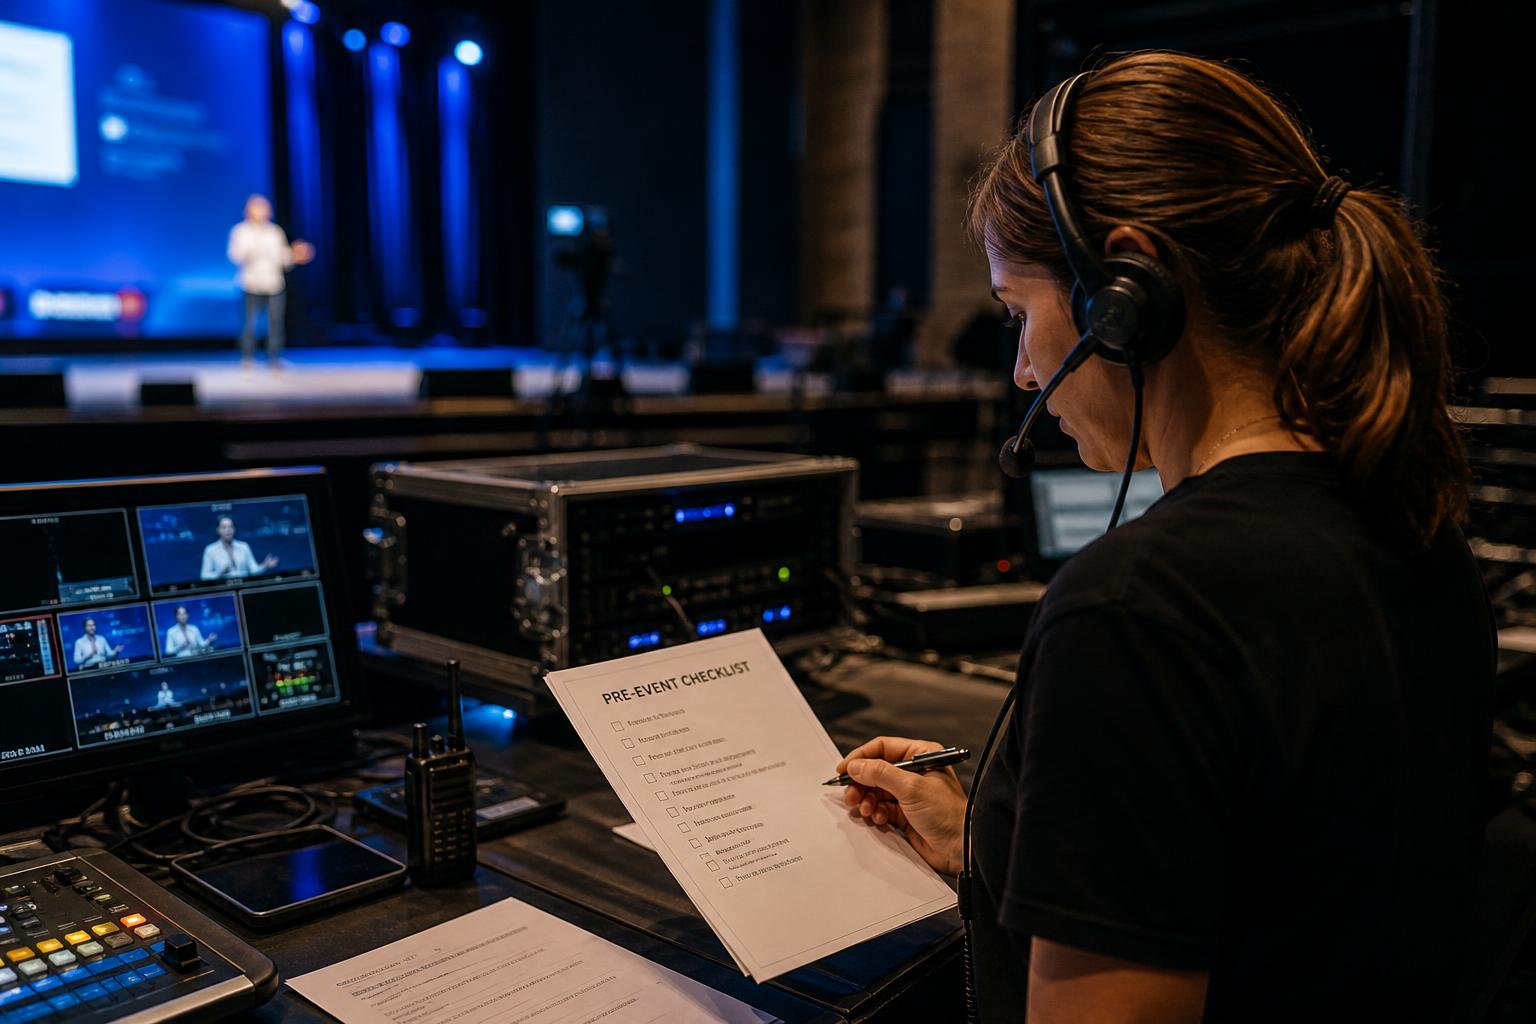
A pre-event checklist is most useful when it is built around what “good” looks like for your webcast. Before listing tasks, define the essentials: the purpose of the session, the audience, the desired actions afterwards, and the level of production required (simple webinar, panel discussion, multi-speaker event, or a broadcast-style show). This keeps your checklist practical, prevents overcomplicating the delivery, and helps everyone involved understand what matters most on the day.
Set the event basics early
Capture the fundamentals in one place so they are never up for debate. Include the event title, date, start time (with time zone), planned duration, platform(s) you will stream to, and the key contacts for production, content and comms. Add the running order owner (who signs off the agenda) and the escalation path if something changes. This section sounds obvious, but it prevents last-minute confusion that can ripple into technical risk.
Build a clear roles and responsibilities section
Webcasts run smoothly when everyone knows their lane. Your checklist should name each role and what “done” means for them. Typical roles include host, moderator, speakers, slide controller, chat/Q&A manager, technical director, vision mixer, captions operator, and a client decision-maker for approvals. Include who is responsible for admitting speakers, who triggers videos, who advances slides, who watches audio levels, and who monitors the live stream health. If you are using remote contributors, specify who supports them with setup and testing.
Create a content and assets checklist
This is where many events slip, because content arrives late or in the wrong format. List every asset needed and set deadlines for each:
Slides: final deck version, aspect ratio (16:9), font embedding, correct branding, and a PDF backup.
Lower thirds and titles: speaker names, job titles, spelling, preferred pronouns if relevant, and any sponsor acknowledgements.
Pre-recorded videos: file format, resolution, audio loudness consistency, and a final approval time. Include whether videos will be played from a local playout system or shared via a platform.
Holding slides and music: pre-show countdown, “we will begin shortly”, break slides, and end slide with next steps.
Logos and brand guidelines: correct colour usage and safe areas for on-screen graphics.
Interactive elements: polls, Q&A prompts, URLs, QR codes, and any downloadable resources.
Add a simple rule: no new assets after a defined cut-off unless explicitly approved, and always keep the previous approved version as a fallback.
Plan the technical setup and redundancy
Turn technical requirements into checklist items that can be verified, not just discussed. Include:
Platform configuration: webinar settings, registration, authentication, recording permissions, and whether attendees can use chat, Q&A, or raise hand.
Streaming destinations: RTMP keys, scheduled events on YouTube/LinkedIn/etc., privacy settings, and a test stream plan.
Audio strategy: recommended microphones, echo cancellation settings, and whether speakers should wear headphones. Audio is usually the first thing audiences notice, so make it a priority.
Connectivity: minimum upload speeds for contributors, preferred wired connection, and a backup connection plan (4G/5G hotspot).
Backup options: spare laptop, duplicate playback files, alternative dial-in audio, and a plan for replacing a speaker if they drop.
Recording: where it is captured (cloud/local), who checks it, and how quickly it needs to be delivered after the event.
Where possible, include pass/fail criteria, such as “speaker audio peaks no higher than -6 dB” or “stream stable for 10 minutes at target bitrate”.
Schedule rehearsals and technical checks
Your checklist should separate a technical check from a content rehearsal. A technical check confirms that each contributor can connect, be seen and heard clearly, and share content reliably. A rehearsal focuses on timing, handovers, and how the show feels to a viewer.
Include checklist items such as: camera framing, lighting position, background suitability, notification muting, correct display name, and how speakers will be introduced. Confirm each person knows where to look when speaking, how to pause for questions, and how to handle interruptions. If you are mixing multiple Zoom feeds with graphics, slides and video, rehearse transitions so they are smooth and consistent.
Write a run of show that matches the checklist
A pre-event checklist is stronger when it points to a signed-off run of show. Ensure your checklist includes: agenda approval, final timings, speaker order, housekeeping notes, interactive moments, and the exact cues for starting/stopping recordings and streaming. Add what happens if you are running ahead or behind (for example, a “shorten” section and an “extend” section). This gives your team options without improvising under pressure.
Prepare audience experience and accessibility
Professional webcasts consider more than just the technical feed. Add checklist items for:
Captions/subtitles: whether live captions are required, the provider, and how they will be delivered to the audience.
BSL interpretation: if needed, confirm layout, pinning, and rehearsal time with interpreters.
Joining instructions: clear emails with start time, how to join, troubleshooting tips, and who to contact for support.
Moderation plan: how questions will be handled, what is in/out of scope, and how you will deal with inappropriate comments.
Data and consent: confirm that speakers and attendees understand recording, and that any required permissions are captured.
Include a day-of-event timeline with checkpoints
Break the day into time blocks and make each one actionable. For example: “T-90 minutes: production opens; T-60: speakers join; T-45: audio checks complete; T-30: run opening sequence; T-10: go live to holding slide; T-0: start show”. Add a “green light” checkpoint before going live, confirming audio, video, graphics, and stream health are all verified. This reduces the chance of going live while something is still being fixed.
Document comms and contingency messages
Write and pre-approve messages you may need in a hurry: “We will begin shortly”, “We are experiencing technical difficulties”, “Please refresh your browser”, and “If you cannot hear audio, check your device settings”. Include where these messages will be posted (platform chat, email, social, or an on-screen caption). Also list who is authorised to send them, so you do not lose time seeking permission mid-event.
Plan post-event tasks before you go live
Post-event work is easier when it is part of the same checklist. Include: exporting recordings, creating a highlight edit, adding captions, uploading to your chosen platform, sending follow-up emails, sharing slides, and collecting analytics. Add a debrief slot while the event is fresh, and capture what to keep, change, or automate next time.
Keep the checklist usable, not overwhelming
The best checklists are short enough to use under pressure and detailed enough to prevent mistakes. Use sections, tick boxes, owners, and deadlines. If an item cannot be verified, rewrite it until it can. Over time, refine it based on real events: add what you repeatedly forget, remove what never applies, and keep a “template + event-specific” approach so you are not starting from scratch each time.
Bring it all together with the right production support
If you want a webcast checklist that translates into a polished live experience, it helps to work with a team that can bring remote Zoom contributors together with titles, captions, slides, pre-recorded video, interactivity and reliable multi-platform streaming. To find out more about Enbecom Studios’ live remote webcasting and video services, visit https://enbecom.tv.